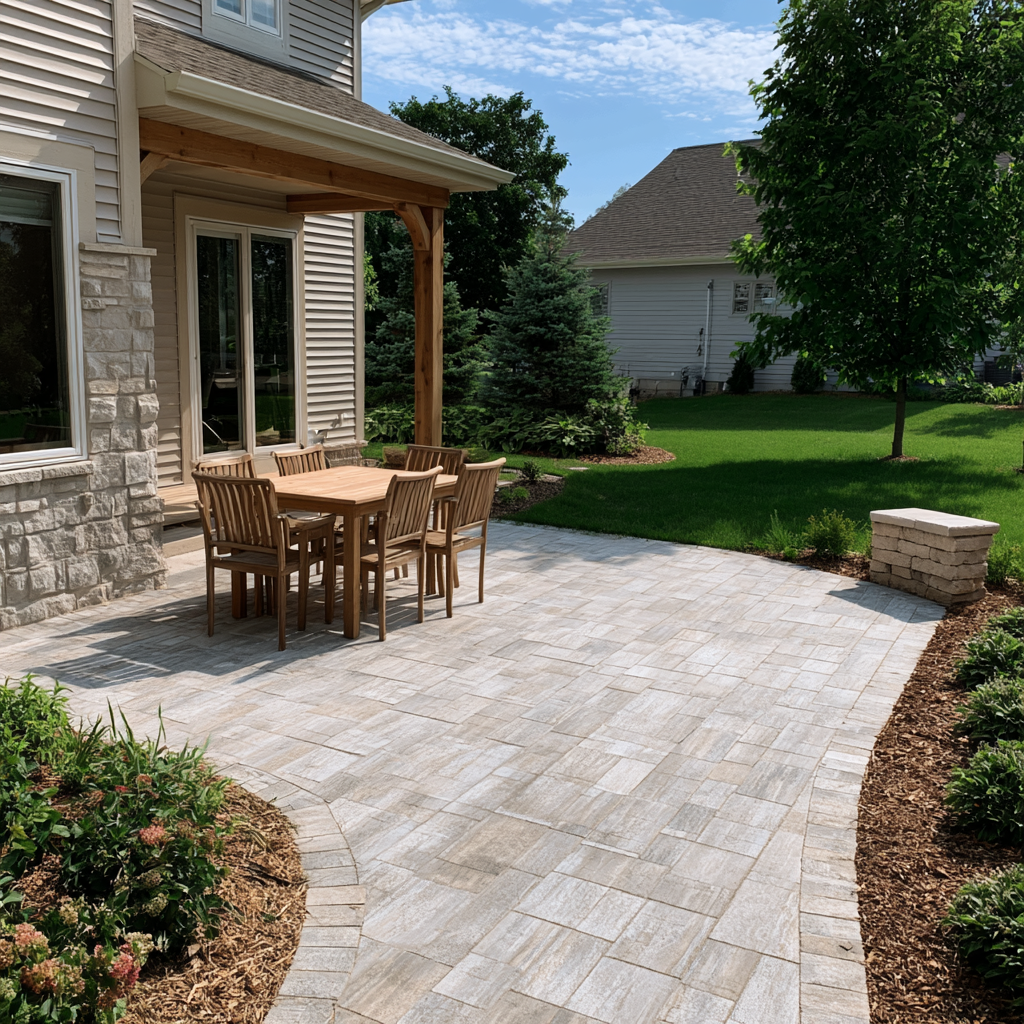
There’s a specific kind of daydream that happens every spring: you’re standing in the backyard, staring at a bare patch of grass, and suddenly you can see it — the table, the string lights, the evening glass of wine outside. A DIY paver patio is one of the few big backyard upgrades a total beginner can actually pull off, and it doesn’t require a contractor, a huge budget, or a weekend you’ll regret.
This guide walks you through the entire process, from planning your layout to setting the last paver in place. Along the way, I’ll share the exact tools I used, plus a few things I wish someone had told me before I started.
DIY Project Note: This guide is intended as general information for a basic pedestrian paver patio. Site conditions, local building requirements, soil type, drainage, climate, paver specifications, and project size can change the installation requirements. Check local requirements and follow the installation instructions for your specific pavers and materials. Call 811 before digging in the U.S.
Plan Your Patio Layout First
Before you touch a shovel, spend a little time thinking through the basics. Above all, get your patio size right — most backyard patios land somewhere between 12×12 and 16×20 feet, depending on how you plan to use the space.
A few things to consider:
- Sun and shade — think about what time of day you’ll actually use the space
- Distance from the house — patios that connect directly to a back door feel more usable
- Drainage direction — you’ll want a slight slope away from your home’s foundation
- Utility lines — call 811 (in the US) before you dig, it’s free and it’s non-negotiable
Once you’ve settled on a size, use stakes and string or spray paint to mark your area.

Gather Your Tools and Materials
Having everything on hand before you start makes the whole project move faster and keeps you from making extra hardware store runs mid-project. Here’s what you’ll need:
Tools:
- Flat spade and round-point shovel
- Rubber mallet
- Plate compactor (rentable if you don’t own one)
- 4-foot level and a long screed board
- Landscape rake
- Tape measure and stakes with string
- Paver saw or angle grinder with masonry blade
- Broom
Materials:
- Patio pavers (concrete or natural stone)
- Crushed gravel/paver base (Class II road base)
- Landscape weed barrier fabric
- Coarse sand (bedding sand)
- Polymeric jointing sand
- Paver edge restraints and spikes
Step 1: Mark and Excavate the Area
First, use your stakes and string (or spray paint) to mark the exact final footprint of your patio, adding a couple of inches on each side for the edge restraints. Tip: Use a string line level kit to keep your lines straight and even. This small tool makes a big difference in how professional your layout looks.
Excavation depth depends on your soil, climate, paver thickness, drainage requirements, and the intended use of the patio. As a general starting point for a pedestrian patio, plan for enough depth to accommodate the compacted base, bedding sand, and paver thickness. Many manufacturer installation guides call for at least 8 inches of excavation, with deeper excavation sometimes required in challenging soils or freeze-thaw climate
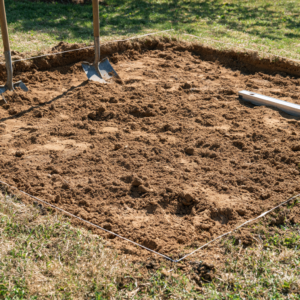
How to do it: Work in small sections rather than trying to excavate the whole area at once — it’s far more manageable and keeps your depth consistent. Check your depth often with a level and a spare paver held against the edge. Most importantly, Maintain a consistent slope away from the house—commonly around 1/8 to 1/4 inch per foot, depending on the site and manufacturer recommendations.
Step 2: Evaluate the Soil and Add Geotextile if Needed
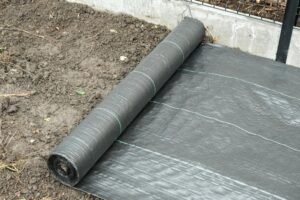
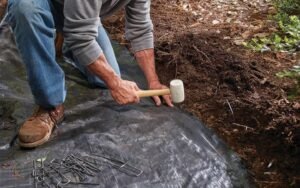
Once you’ve excavated and compacted the subgrade, evaluate the soil and drainage conditions. A properly specified geotextile separation fabric can help prevent soil from migrating into the aggregate base, particularly in soft, clay-heavy, or otherwise unstable soils.
Don’t substitute ordinary plastic sheeting for geotextile fabric. If fabric is needed for your site, use a product intended for hardscape applications and follow the paver manufacturer’s installation recommendations.
Step 3: Add and Compact the Base Layer
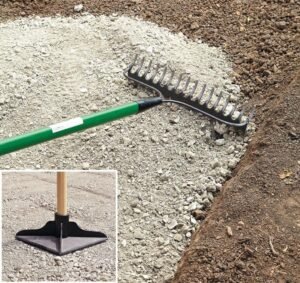
Next, spread your crushed gravel base in layers about 2 inches at a time, rather than dumping it all in at once. Trying to compact one deep layer instead of several shallow ones is one of the most common mistakes first-timers make — it leaves you with soft spots that show up months later.
How to do it: Spread each layer with a landscape rake, then compact it with a plate compactor using overlapping passes. A plate compactor can usually be rented from a home-improvement or equipment-rental store. For a small area where mechanical compaction isn’t practical, follow the paver manufacturer’s recommendations for manual compaction.
Tip: If you only invest in one thing, make it a plate compactor (rental or purchase). This is what locks your base in place, so your pavers don’t shift over time.
Step 4: Add and Level the Sand Layer
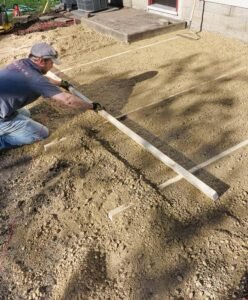
With your base compacted, add a 1-inch layer of coarse bedding sand on top. This is what your pavers will actually rest and settle into, so getting it level really matters.
How to do it: Lay two lengths of PVC pipe or metal conduit on the sand, spaced apart, then pour sand between them and drag your screed board across the top of the pipes to create asmooth, consistently graded surface that follows your planned drainage slope. Once you’ve screeded a section, carefully remove the pipes and fill the gaps they leave with a bit more sand, smoothing by hand. Try not to walk on the leveled sand once it’s screeded — it’s easy to leave footprints that throw off your surface.
Step 5: Lay your Pavers
Now for the most satisfying part. Starting from one corner and working outward, set your pavers directly onto the sand bed. Leave the joint width specified by the paver manufacturer; many concrete paver systems use relatively narrow, consistent joints.
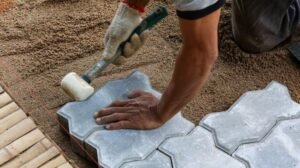
How to do it: Place each paver, then tap it gently into the sand with a rubber mallet until it sits flush with its neighbors. Check every few pavers with your level to make sure you’re staying flat and consistent. The best part is watching the pattern take shape as you go — but keep in mind that working in small sections and checking your lines with a string guide keeps everything straight over a large area.
Step 6: Cut Border Pavers to Fit
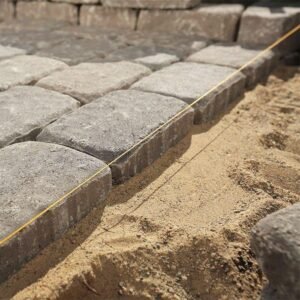
Along the edges, you’ll almost always need pavers cut down to fit the remaining space. Measure each gap individually rather than assuming they’re all the same size, since minor variations add up.
How to do it: Mark your cut line on the paver, then use a paver saw (or an angle grinder fitted with a masonry blade) to score along the line before applying steady pressure to complete the cut. Cutting pavers creates significant dust and flying debris. Use the cutting equipment manufacturer’s required PPE and follow local safety guidance. Wet cutting can reduce airborne dust; never bypass the safety guard on a power tool.”
Step 7: Add Edging and Polymeric Sand
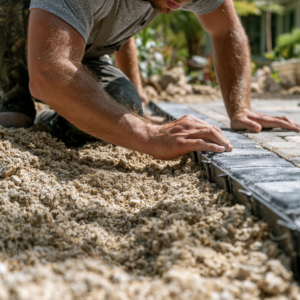
Once all your pavers and cuts are in place, install edge restraints along the perimeter to lock everything in and keep pavers from shifting outward over time.
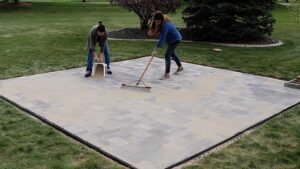
How to do it: Position the edge restraint tight against the outer row of pavers and secure it into the base with spikes every 12 inches or so. From there, sweep polymeric sand across the entire surface, working it into the joints with a broom until they’re completely full. Finally, use a leaf blower or soft broom to clear excess sand off the paver surface. Activate the polymeric sand according to the manufacturer’s instructions. Application methods vary by product, so don’t assume every polymeric sand should be watered in exactly the same way. Avoid flooding the surface or washing sand out of the joints.
Tips for a Patio That Actually Lasts
A few lessons that make the difference between a patio that holds up and one that needs redoing in two years:
- Don’t skip compaction — a rented plate compactor for a weekend is worth every dollar
- Keep your slope consistent — even a small drainage mistake can lead to standing water
- Inspect the joints periodically and replace or repair jointing material if it becomes depleted, cracked, or washed out.
- Seal your pavers Sealing is optional for many paver installations. If you decide to seal your patio, choose a sealer compatible with your specific paver and follow the manufacturer’s recommended curing and application time.
- Where the patio meets the house or another fixed structure, follow the paver manufacturer’s recommendations for separation, drainage, and edge restraint.
In the end, the most important thing is patience with the base layers — that’s the part nobody sees, but it’s what determines whether your patio still looks great five years from now.
My Picks: Tools & Materials
- Plate Compactor — makes the difference between a patio that settles evenly and one with soft spots down the road.
- Polymeric Sand — locks joints in place and helps resist weeds and ant activity.
- Heavy-Duty Edge Restraints — keeps your border pavers from creeping outward over seasons of freeze-thaw.
- Landscape Weed Barrier Fabric — the cheap insurance policy against grass pushing through your joints.
- Rubber Mallet — gentle enough to set pavers without chipping the edges.
Ready to Start Digging?
All in all, a DIY paver patio is one of those projects that feels intimidating right up until you’re standing on your finished patio wondering why you waited so long. Start with a small test section if you’re nervous about the process — even a modest 6×6 pad will teach you the base and leveling techniques before you commit to something bigger.
I’d love to hear about your own patio project in the comments — what pattern or paver style are you leaning toward?